|
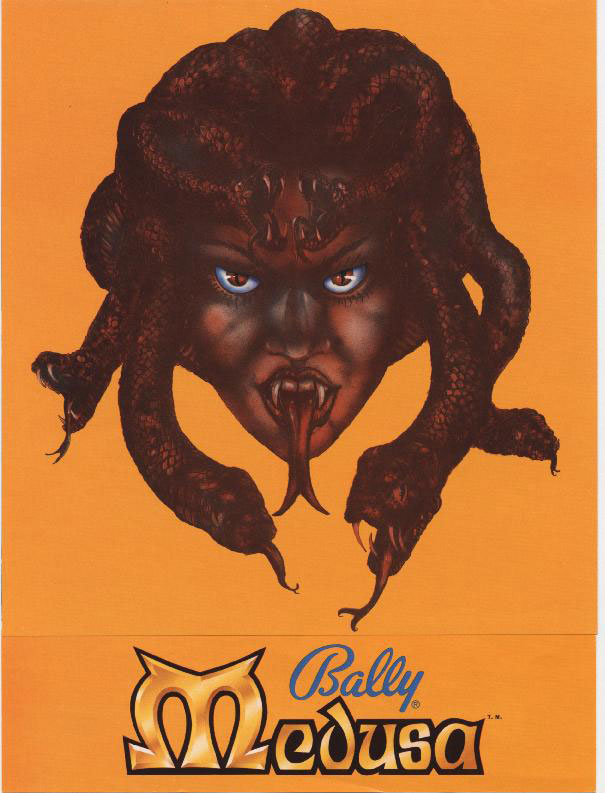
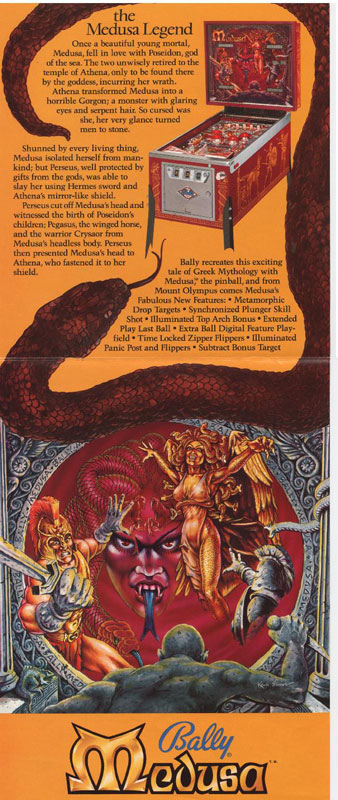
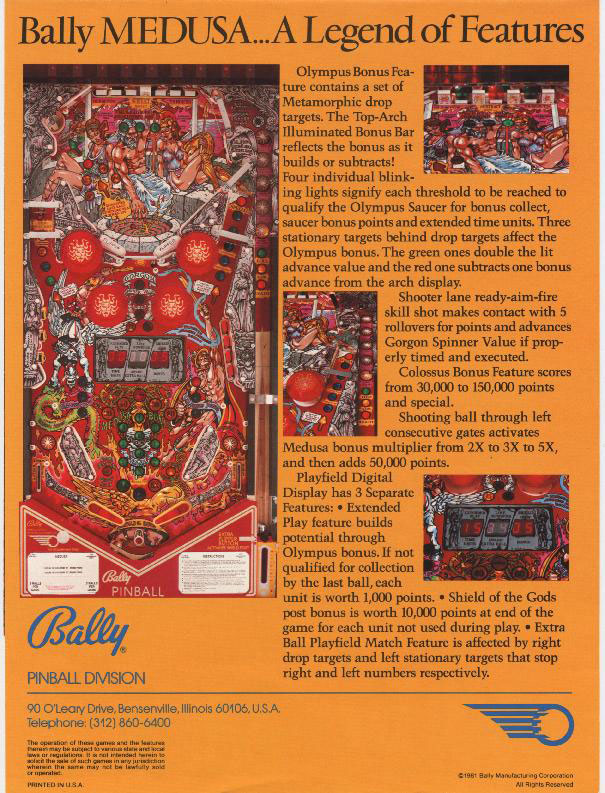
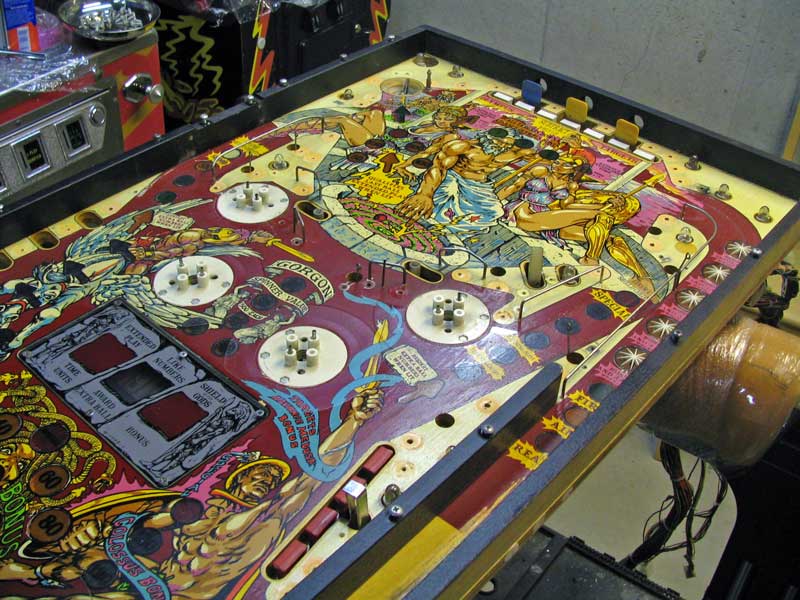
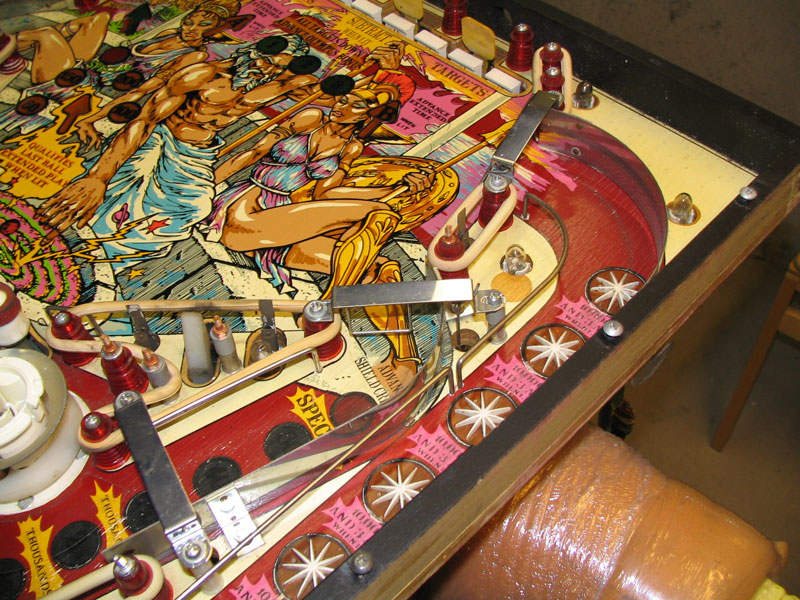
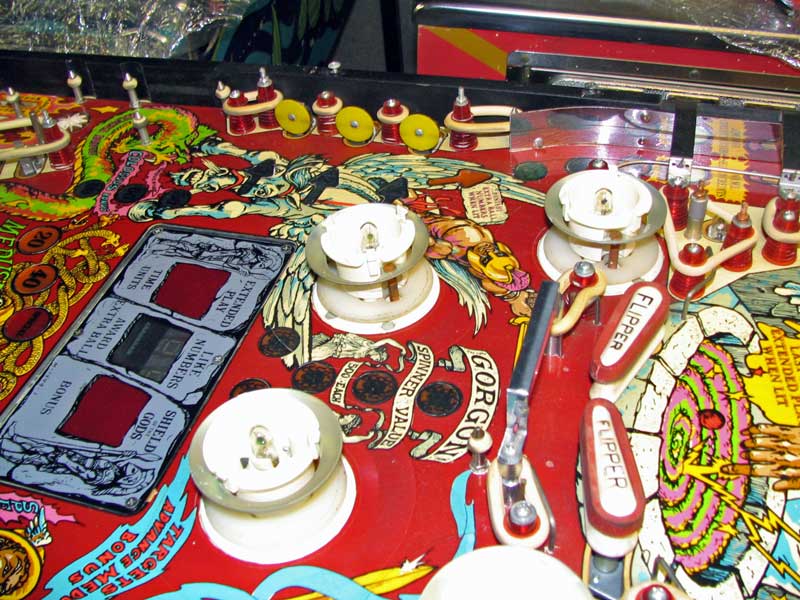
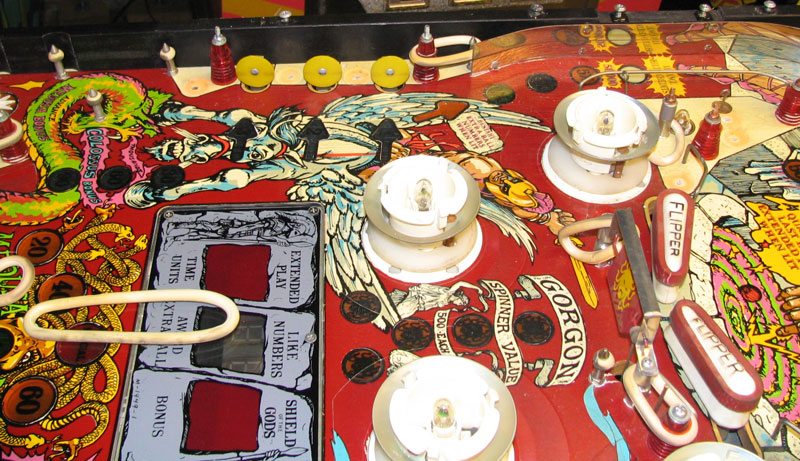
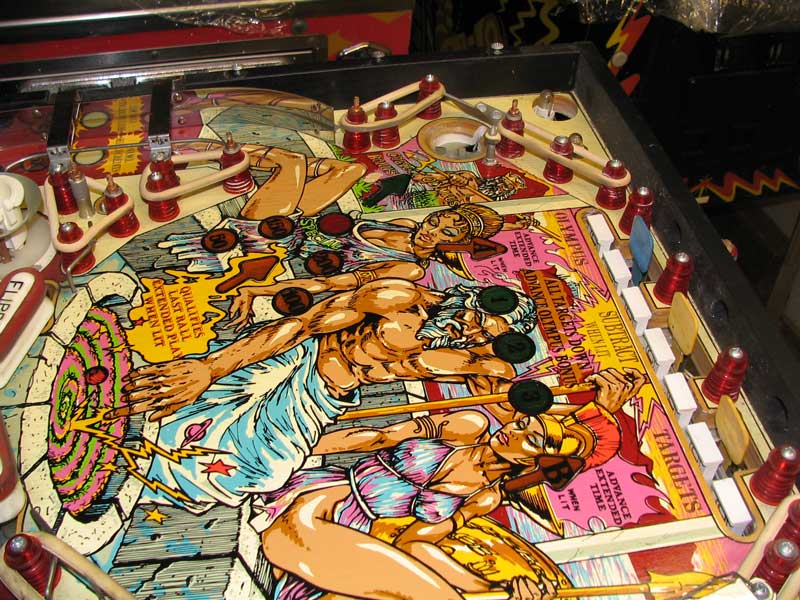
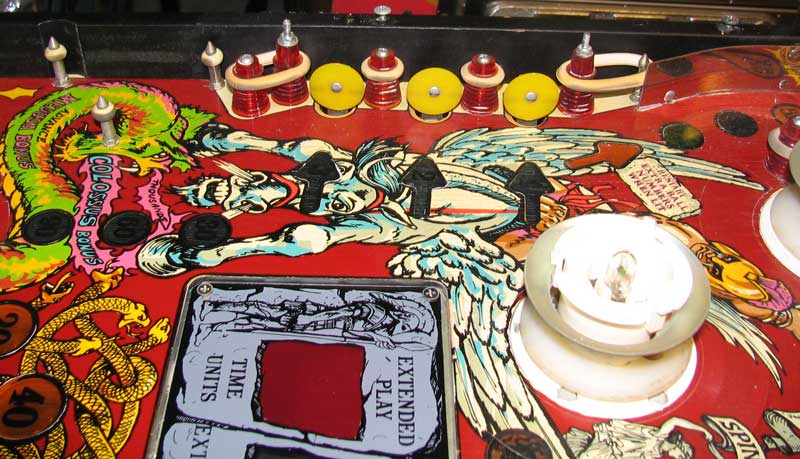
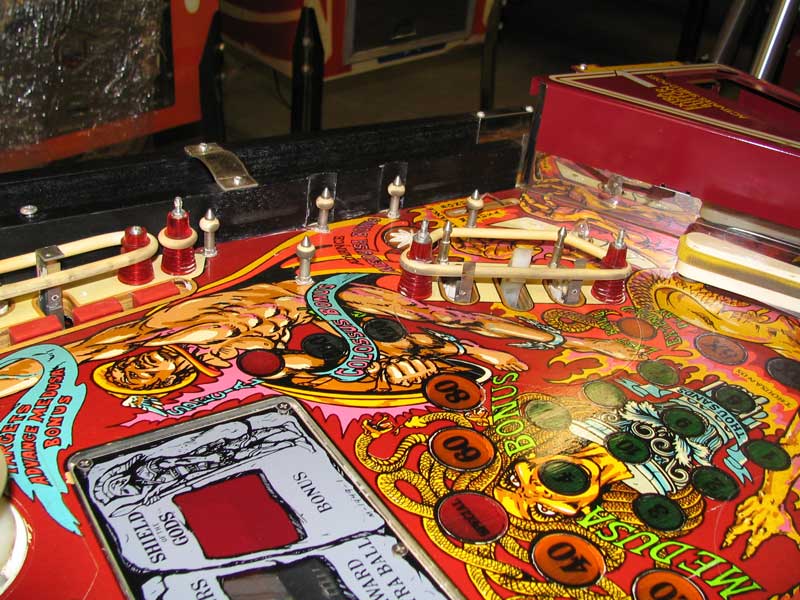
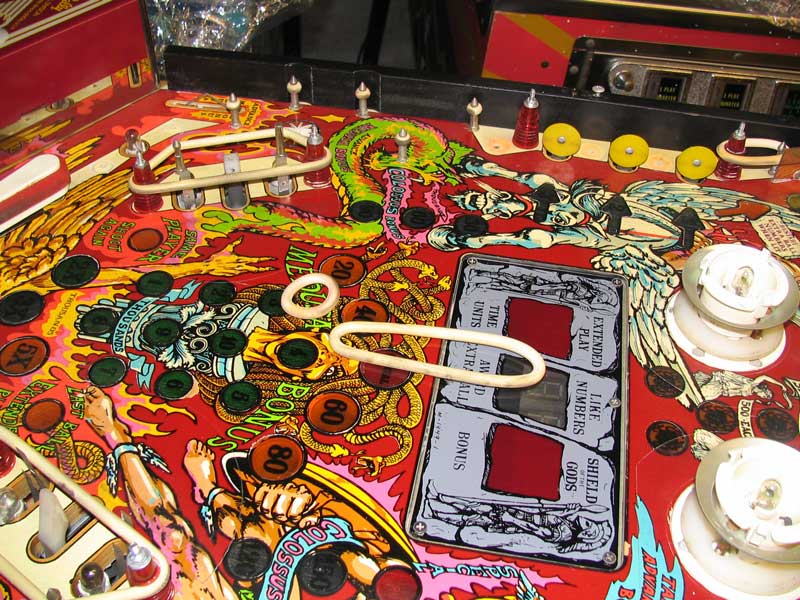
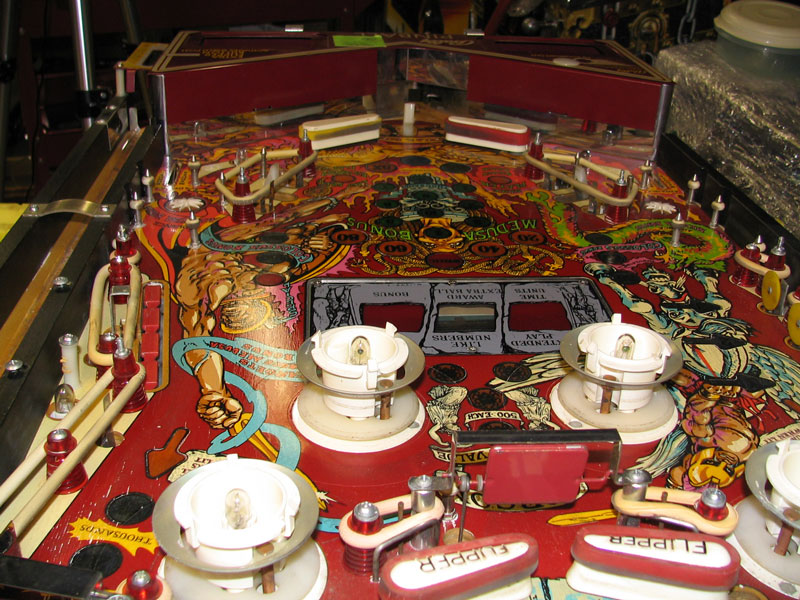
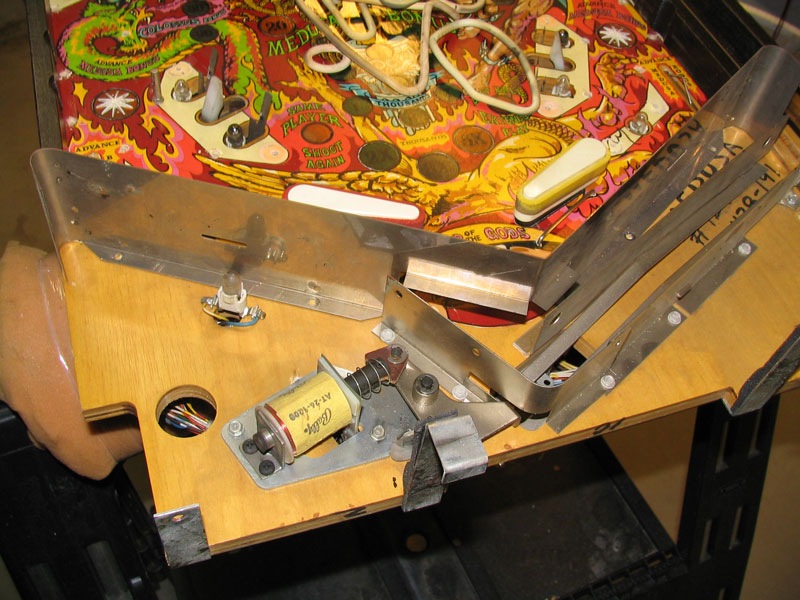
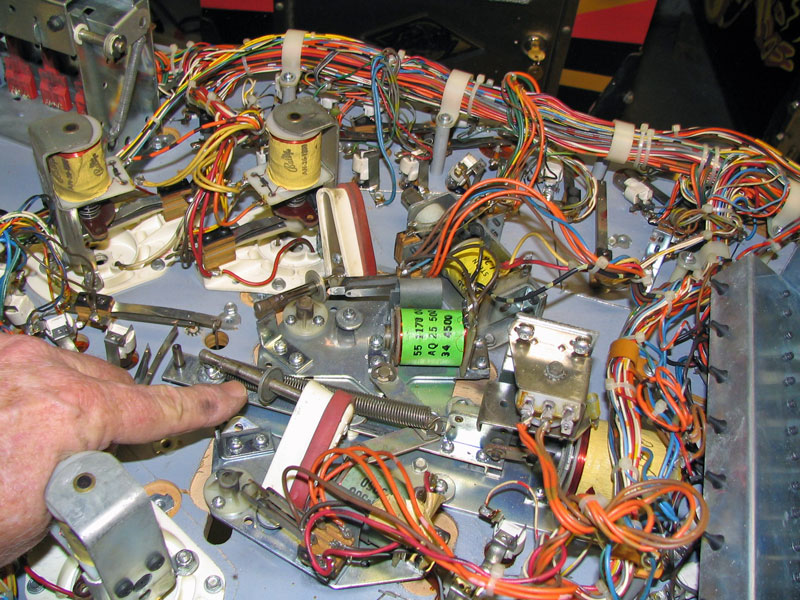
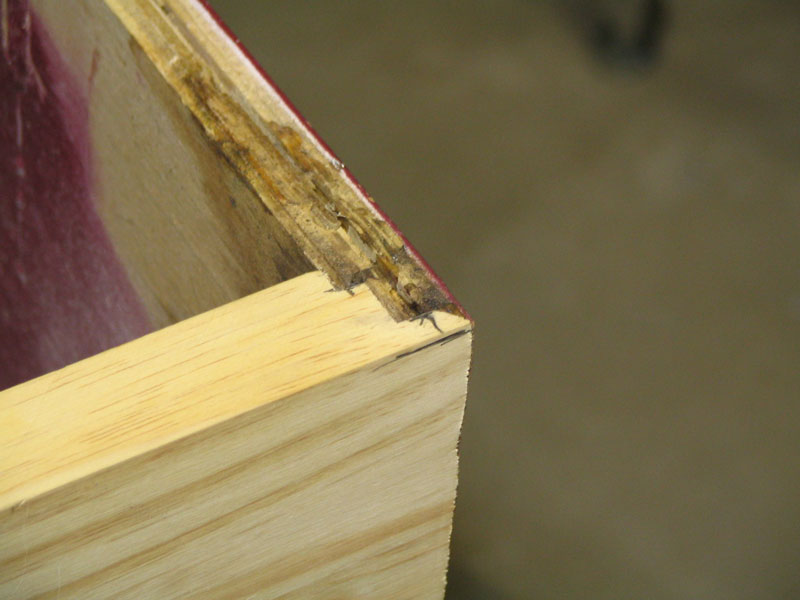
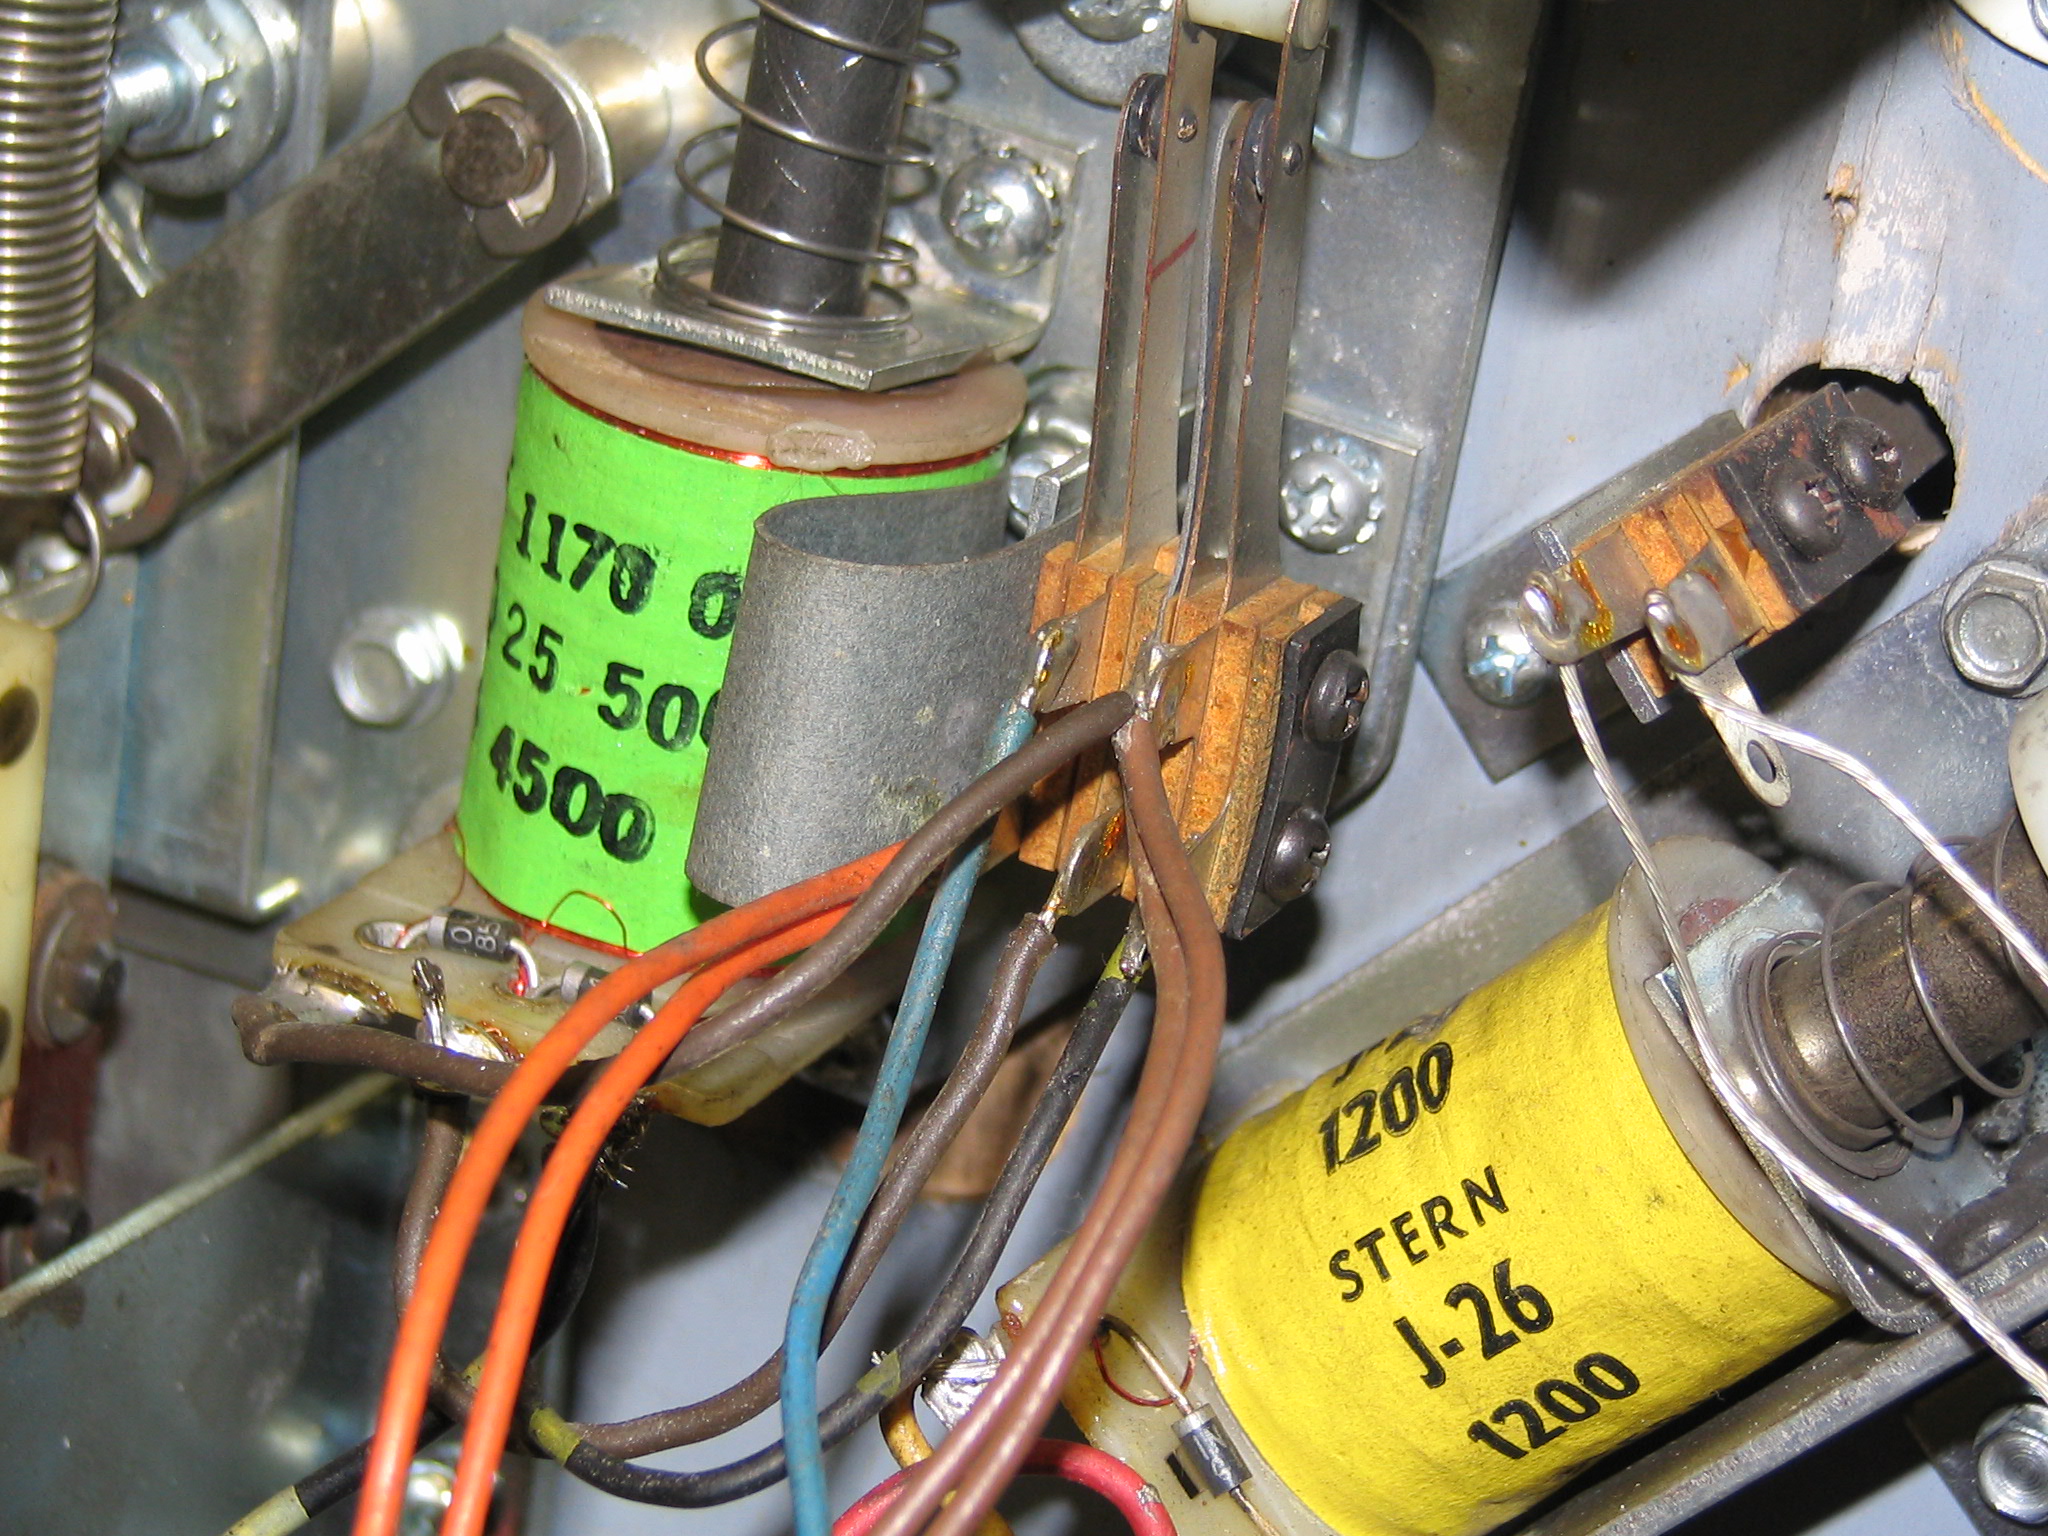
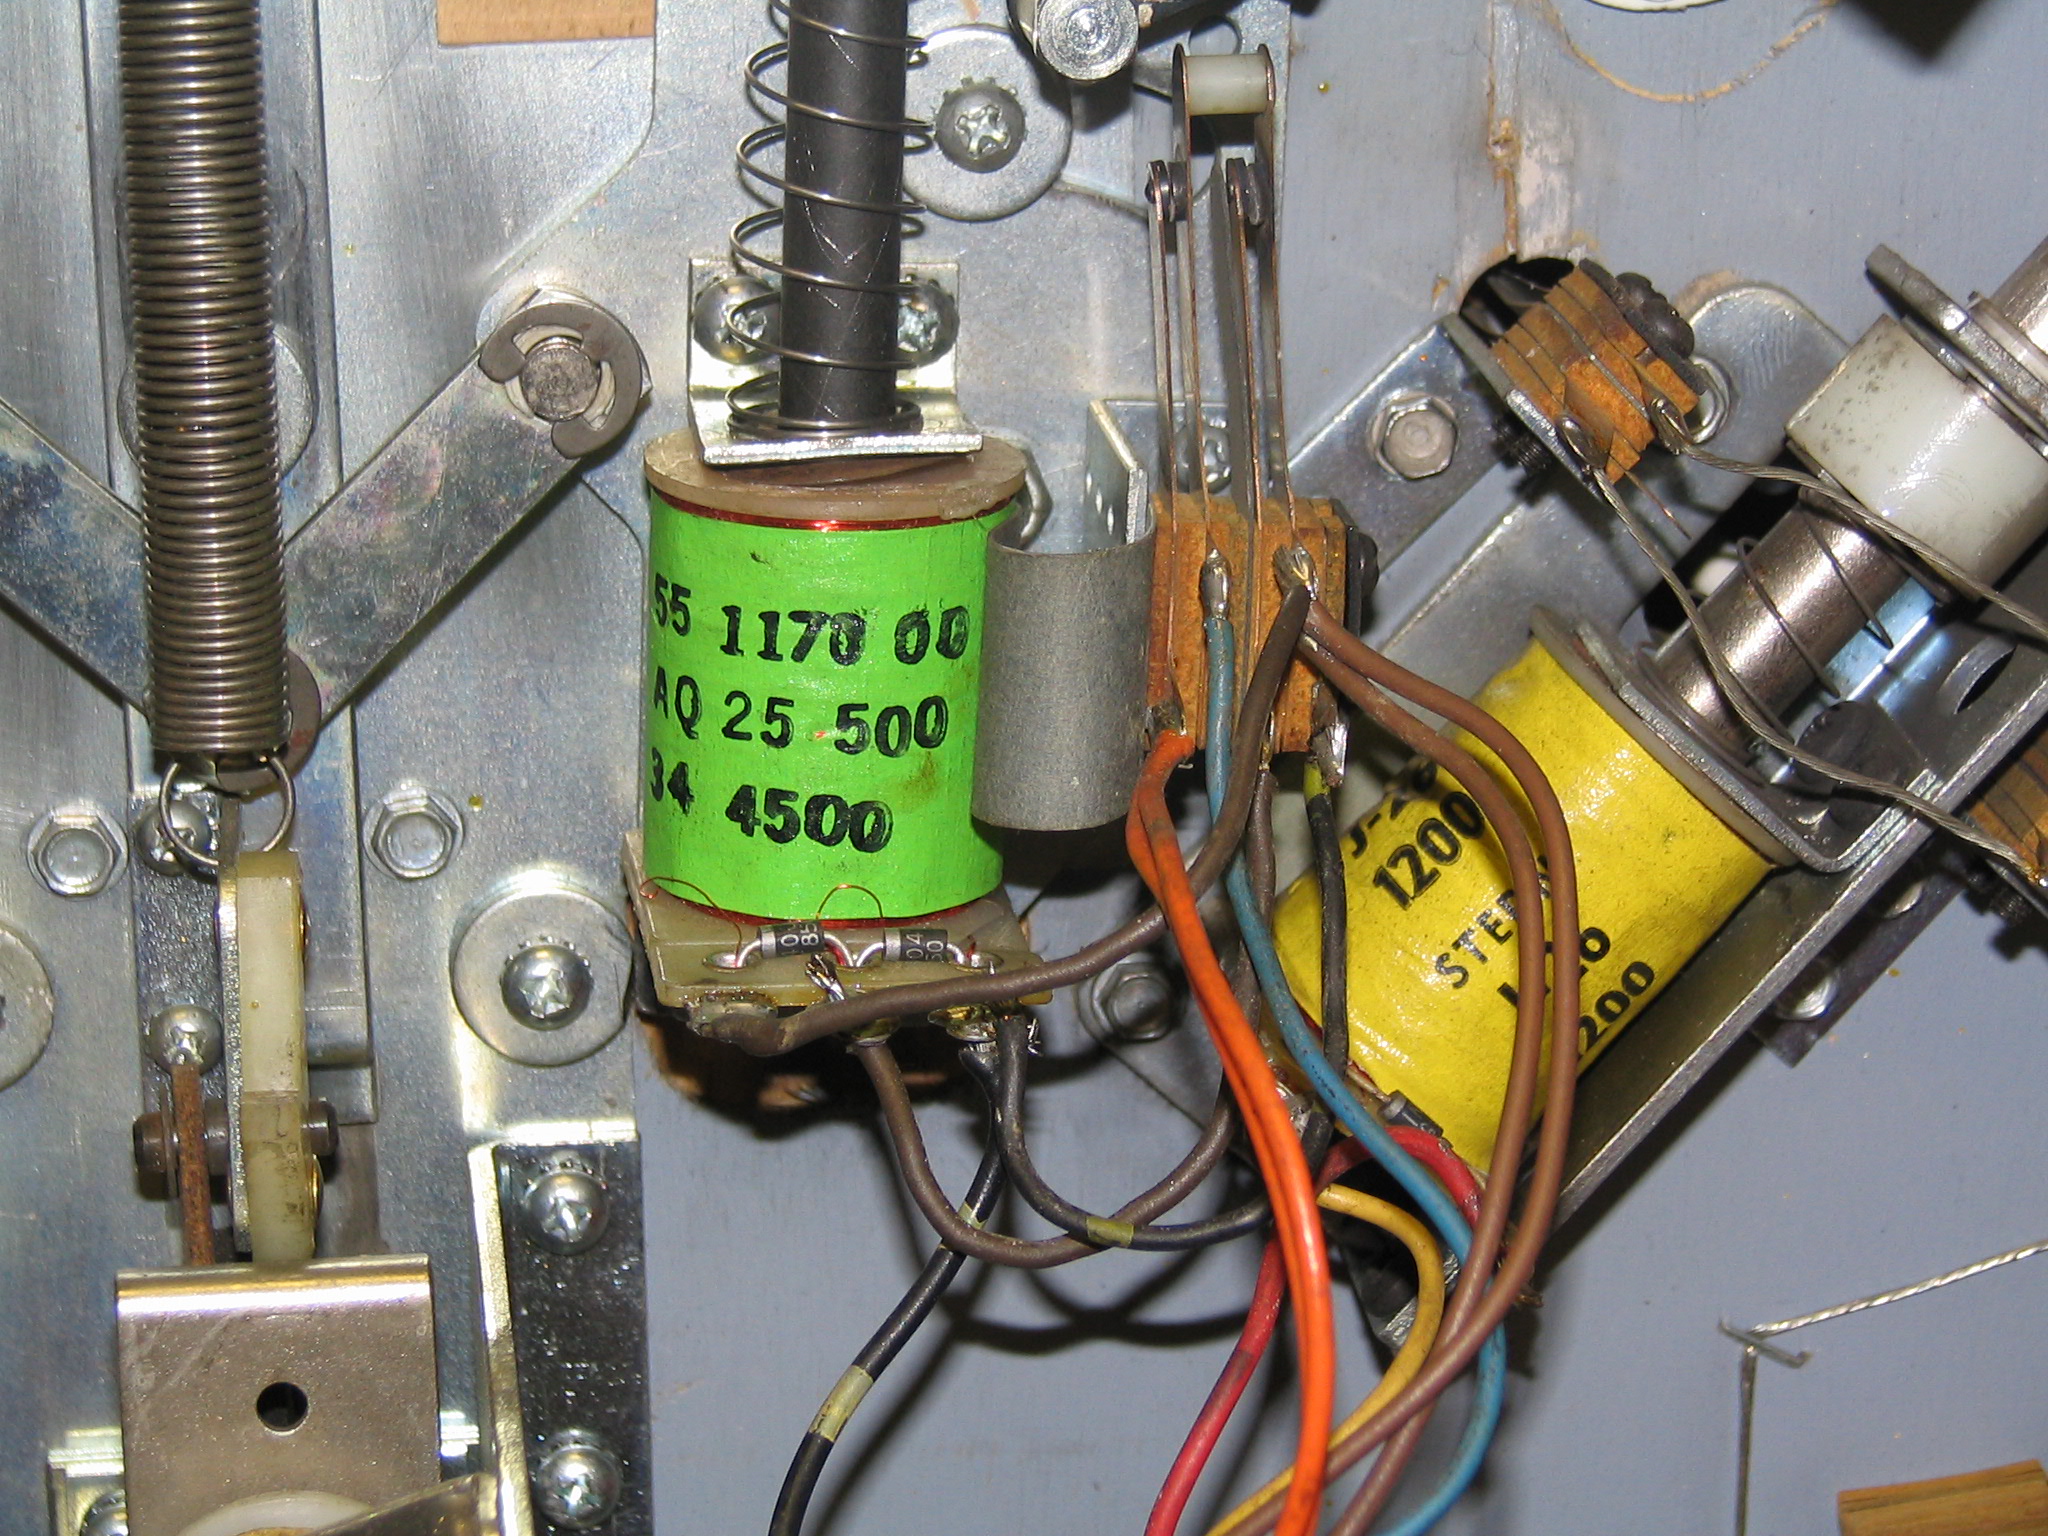
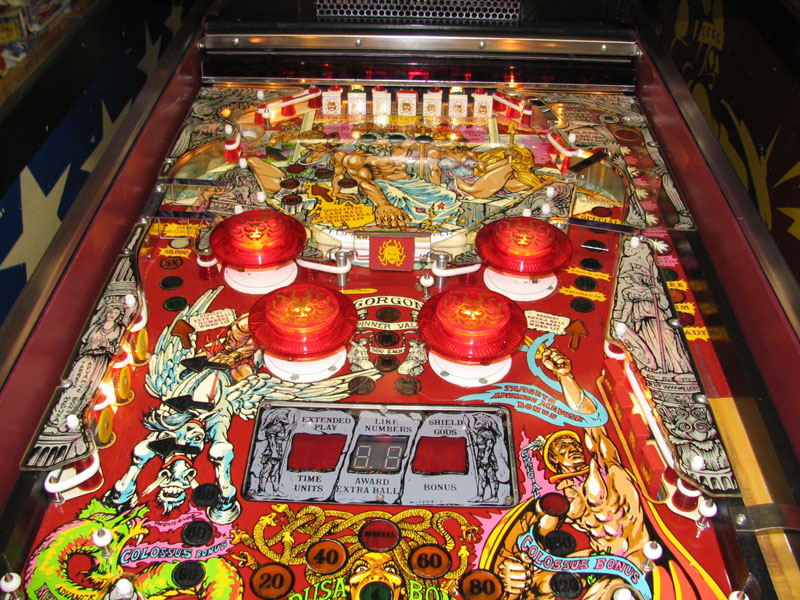
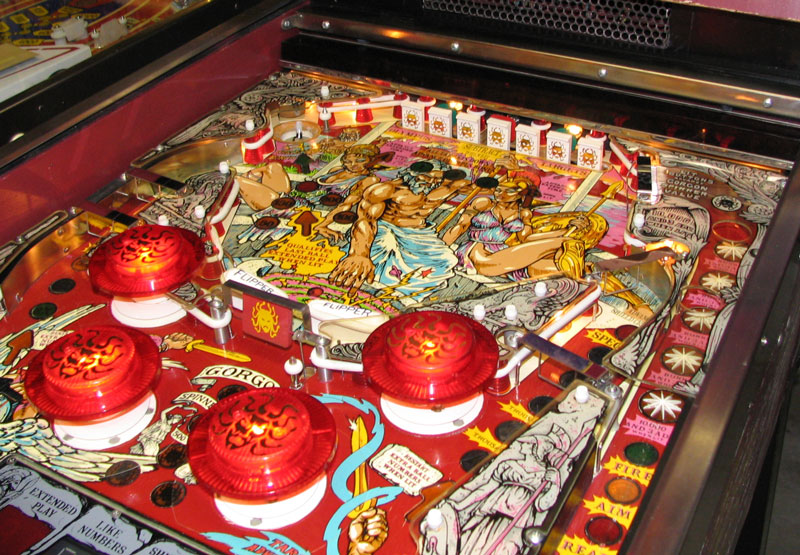
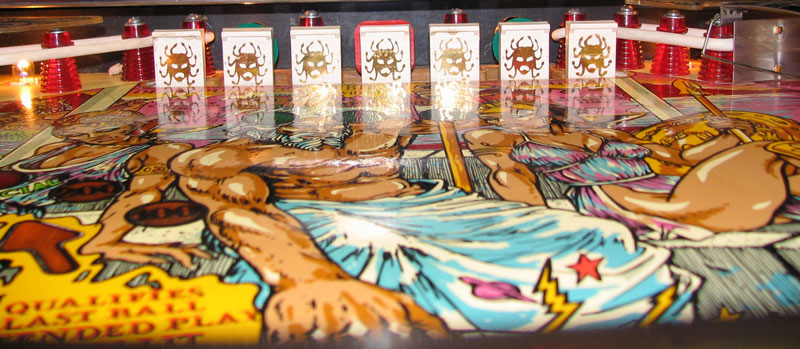
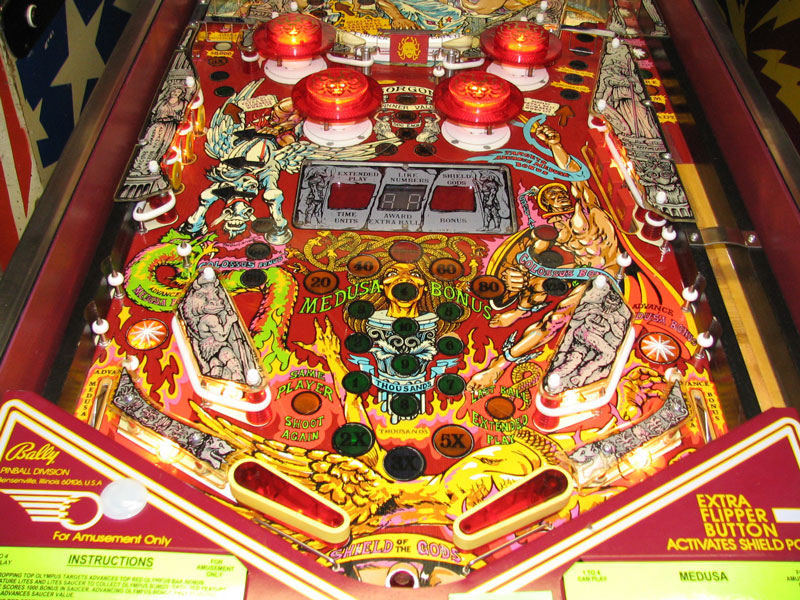
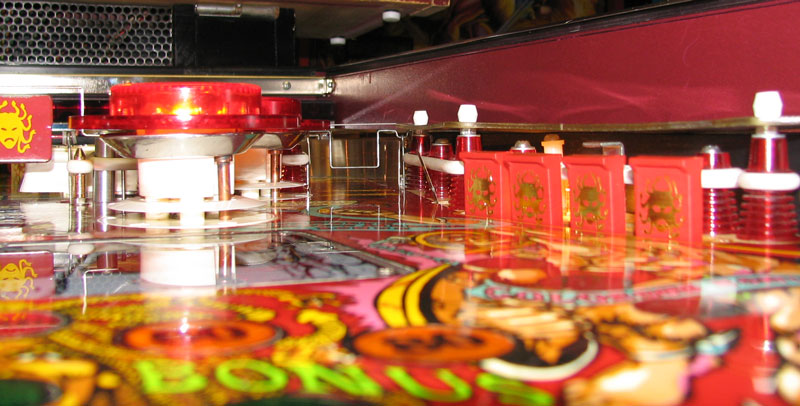
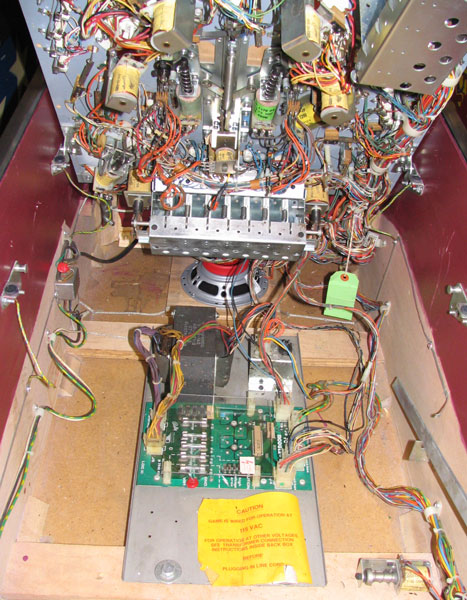
This page illustrates my Medusa Pinball game that I bought for $750 from Kevin (Lyons Classic Pinball fame) in August of 2004. Kevin had two Medusas and hadn't decided which one to part with. The one he sold me had a nicer playfield, but the game had a water damaged butt-end board due to setting in water in an airplane hanger over the years. He was nice enough not to swap the playfield for his game's playfield and I didn't think it would be too hard to repair the cabinet base. The game didn't work of course so I had to replace some parts to turn it in to a player. The playfield, backglass, and box are in pretty good shape, except for the water damage to the butt-end of the box which is catastrophic and couldn't be repaired. I had to make my own butt-end board since the existing particle board was way beyond repair. To do this, a table saw and dado blade was needed to match the existing dadoes and miters of the game box sides. I brought the original piece I replaced to Home Depot and had them match the paint color. I had the game for several years standing on end before I began restoration of the game in September of 2007 and finished it in November of 2007. I plan to eventually create a DVD showing the restoration process since I took over 10 hours of videos. No telling when this will happen, but I hope to do it in one of these days, then again, maybe not. I would estimate that I spent around 100 hours restoring this game from beginning to end. I routinely play the game and have had no problems as of yet. Medusa is a rather strange game to play and there are a lot of things to do to get the highest score. Bally manufactured Medusa in September of 1981 and produced 3,250 games. The game features 4 flippers of which two are timed zipper flippers (at the top of the game), 7 metamorphic drop targets, 4 pop bumpers, one 4-bank of drop targets, one kick-out hole, digital displays in the lower playfield, a player-controlled post between the lower flippers to save the ball, and the lower flipper are red translucent flippers that are lit from underneath. The game was designed by Wally Welch with artwork by Kevin O'Connor. The artwork is beautiful in this game and the red colors make the game look nice when set up next to Fathom which has a lot of blue artwork. My photos below begin with some flyers followed by restoration pictures beginning with the playfield area that was being disassembled for restoration. (click picture to enlarge)
|